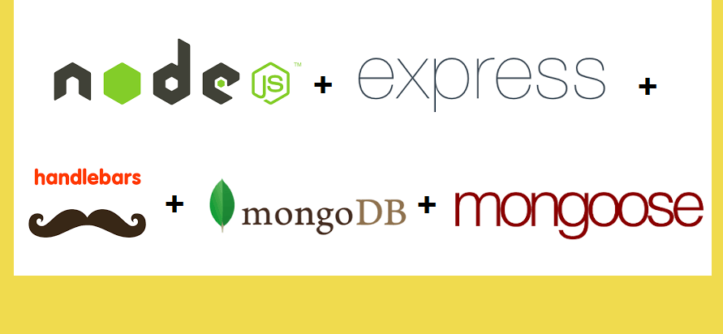
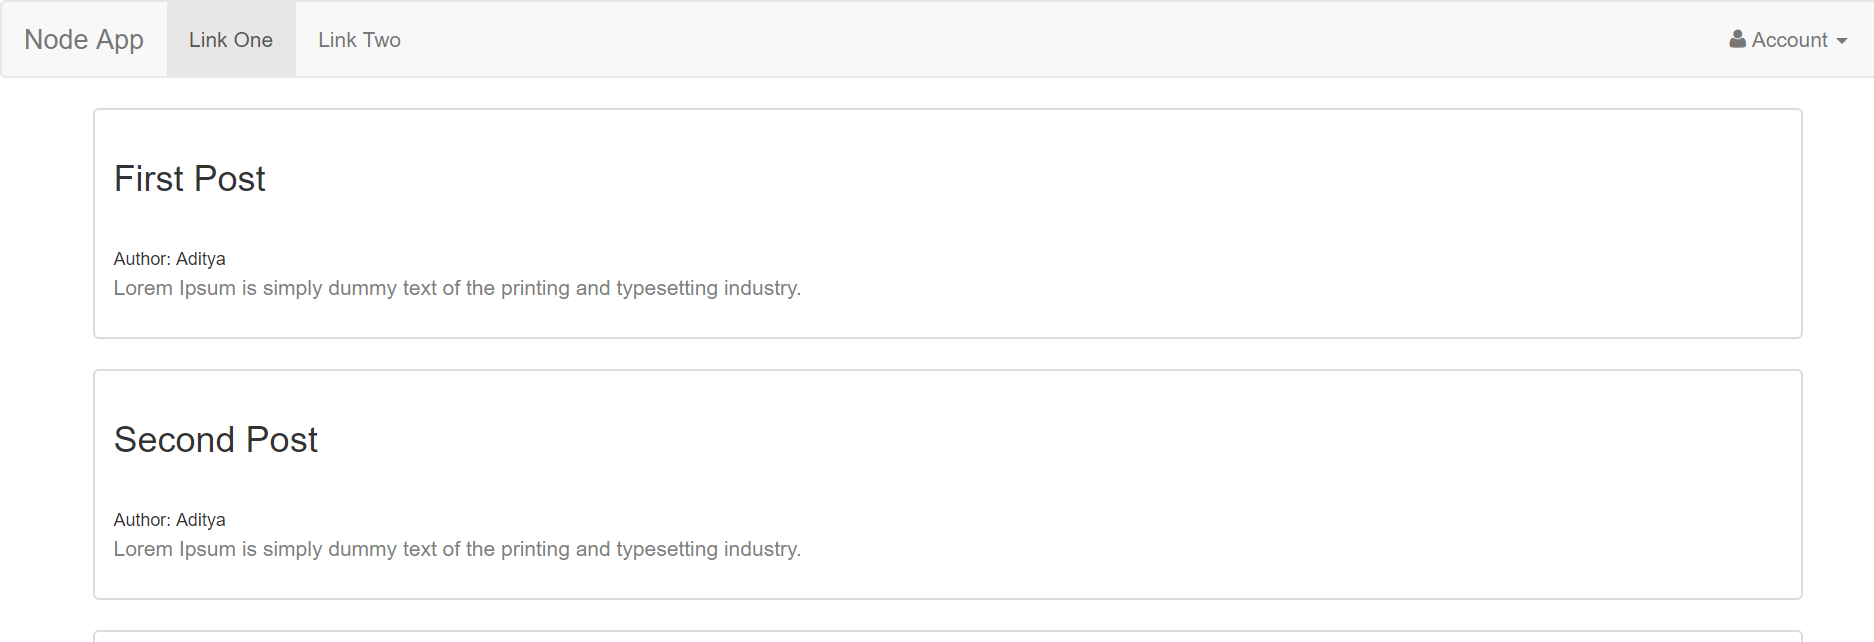
In this post, I am going to build a simple application that would display the data from the MongoDB. This application will look similar to a blog. It will display the title, author name and the content in a blog post. This application is built on NodeJS using Express and Handlebars as a templating library. I am also going to use Mongoose which is a MongoDB object modeling tool. The application will look similar to the image below.
This post assumes that you have already installed NodeJS on your system.
PlumbEStore.com offers a variety of products & equipment for plumbing, hydronic and radiant heating. Come check out our amazing prices & free shipping.
Table of Contents
Installing Express
I will use express-generator, to quickly create an application skeleton.
npm install express-generator -g
Next, I use express with the name of the folder in which I want to set up the project along with a flag hbs. This will set the templating engine to handlebars.
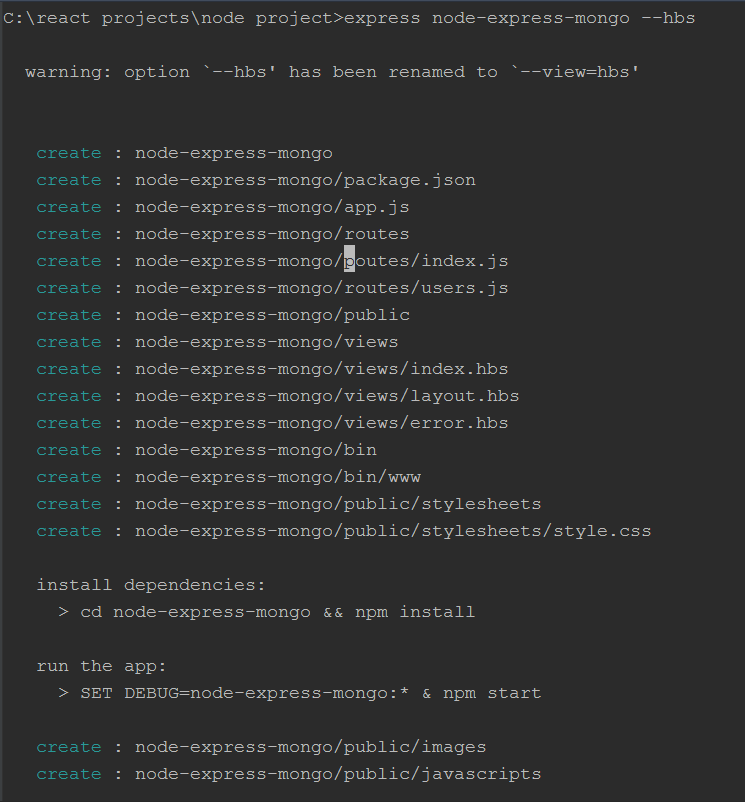
express node-express-mongo --hbs
The above command will create a new folder node-express-mongo. The image below shows the successful execution of the above command.
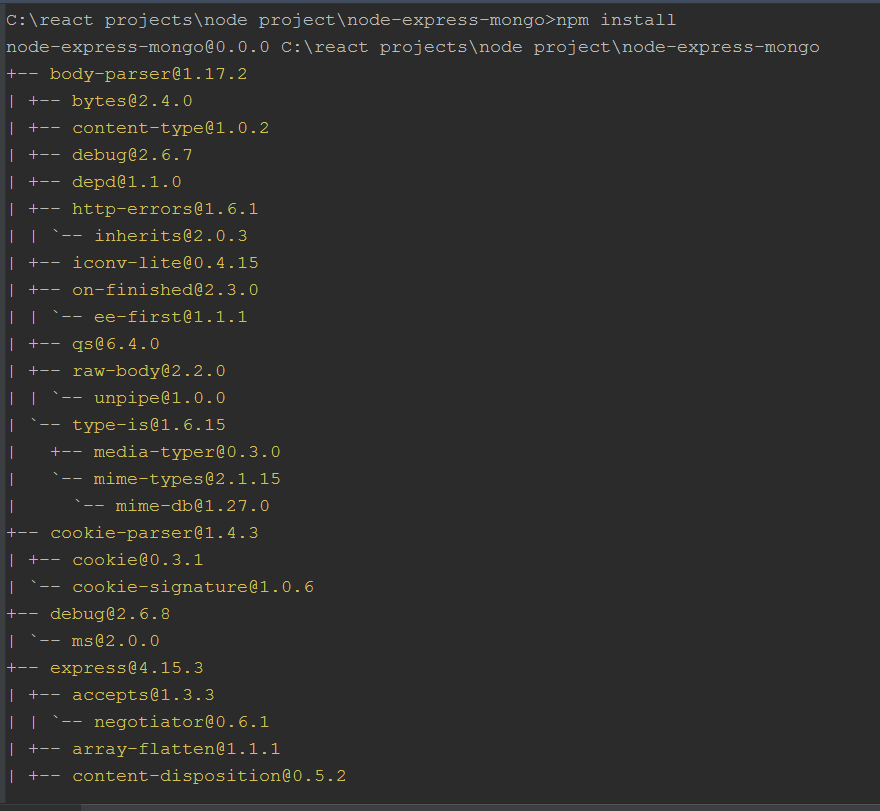
Next, I navigate inside the newly created folder. I will then install all the dependencies required for this project. I do so by running the npm install command.
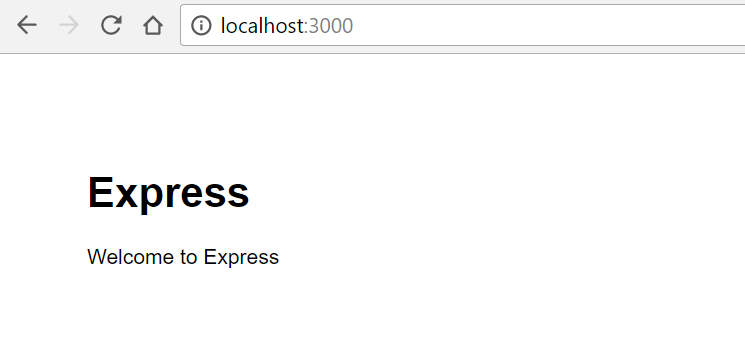
I can now run the command npm start to start the server.
If I now access localhost:3000 from my browser, I have my server running and I can see the welcome to express page. This means everything is working and installed correctly.
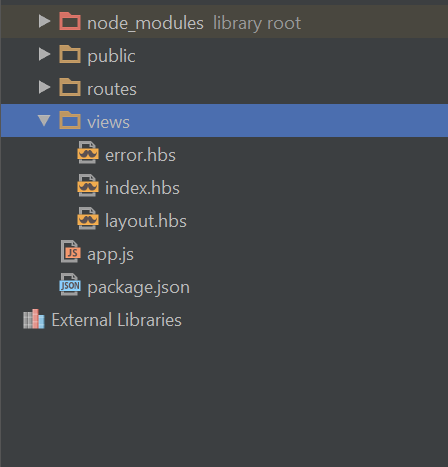
If I check the views folder that has been installed, I can see the three .hbs files created. This is because I had set the flag to hbs while installing the express generator.
layout.hbs:
<!DOCTYPE html>
<html>
  <head>
    <title>{{title}}</title>
    <link rel='stylesheet' href='/stylesheets/style.css' />
  </head>
  <body>
    {{{body}}}
  </body>
</html>
layout.hbs file holds the basic HTML skeleton, and the other view files will use this basic skeleton if not otherwise specified. They will render their specific content in the {{{body}}}. This is the place where the other views will come in and render their content.
routes/index.js
var express = require('express');
var router = express.Router();

/* GET home page. */
router.get('/', function(req, res, next) {
  res.render('index', { title: 'Express' });
});

module.exports = router;
When I accessed the localhost:3000, index.js from the routes folder was used. This file renders the index.hbs file.
Render function in this file tells to send back a response to the browser containing the HTML code of the index file and hbs is added since handlebars is set up as a default view engine. But before sending the response, it also replaces all the variables inside the {{ }} syntax with the appropriate data passed as the second argument in this render function, This is actually nothing but a javascript object. So the value of the title variable here will replace the title variable in the index.hbs file.
index.hbs
<h1>{{title}}</h1>
<p>Welcome to {{title}}</p>
This page gets its title output from the index.js file. {{ }} is used to output a variable passed from the nodejs – express to the view to be rendered to the screen.
All this content finally gets rendered inside the layout.hbs file.
If I replace the title from “Express” to “Node Project” inside the index.js file and restart the server. My localhost:3000 now looks like this:
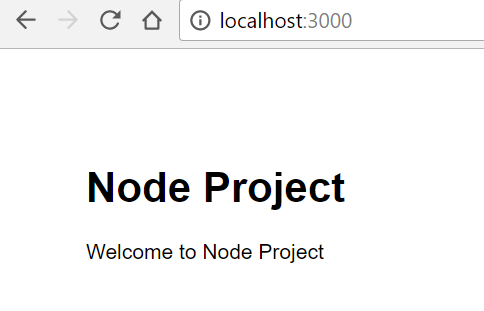
Express- Handlebars
express-handlesbars is a package which offers more features than the built-in one. I will install that by running the following command
npm install --save express-handlebars
I will then go to my app.js file and include this newly install package.
var expressHbs = require('express-handlebars');
I will also replace the app.set('views', path.join(__dirname, 'views')); with app.engine('.hbs', expressHbs({defaultLayout: 'layout', extname: '.hbs'}));
This configures the default layout as layout.hbs
I also add a dot in front of the hbs to refer to the new engine in the line below, which will now look as: app.set('view engine', '.hbs');
The changes made above in the file app.js are shown in the code below.
...
...
var bodyParser = require('body-parser');
var expressHbs = require('express-handlebars');

var index = require('./routes/index');
var users = require('./routes/users');

var app = express();

// view engine setup
//app.set('views', path.join(__dirname, 'views'));
app.engine('.hbs', expressHbs({defaultLayout: 'layout', extname: '.hbs'}));
app.set('view engine', '.hbs');

...
...
Creating a layout folder
I will create a new folder called “layout” inside the “views” and move the layout.hbs inside this newly created folder.
If I restart the server now, it works perfectly fine, same as before.
Adding a navbar
I want to add a navbar to this page. First I will include the Bootstrap CDN from their official website and add it to our layout.hbs
I then create a folder called partials inside the views folder and also create a new file called header.hbs. I then add a simple bootstrap navbar.
Inside the layout.hbs file, I include the following code inside the <body> .
{{> header }}
This syntax of Handlebars is called as Partials. Handlebars partials allow for code reuse by creating shared templates.
My layout.hbs looks as follows:
<!DOCTYPE html>
<html>
<head>
    <title>{{title}}</title>
    <link rel="stylesheet" href="https://maxcdn.bootstrapcdn.com/bootstrap/3.3.6/css/bootstrap.min.css"
          integrity="sha384-1q8mTJOASx8j1Au+a5WDVnPi2lkFfwwEAa8hDDdjZlpLegxhjVME1fgjWPGmkzs7" crossorigin="anonymous">
    <link rel="stylesheet" href="https://maxcdn.bootstrapcdn.com/font-awesome/4.6.1/css/font-awesome.min.css">
    <link rel='stylesheet' href='/stylesheets/style.css'/>
</head>
<body>
{{> header }}
<div class="container">
    {{{body}}}
</div>
<script   src="https://code.jquery.com/jquery-1.12.3.min.js"   integrity="sha256-aaODHAgvwQW1bFOGXMeX+pC4PZIPsvn2h1sArYOhgXQ="   crossorigin="anonymous"></script>
<script src="https://maxcdn.bootstrapcdn.com/bootstrap/3.3.6/js/bootstrap.min.js" integrity="sha384-0mSbJDEHialfmuBBQP6A4Qrprq5OVfW37PRR3j5ELqxss1yVqOtnepnHVP9aJ7xS" crossorigin="anonymous"></script>
</body>
</html>
MongoDB – Mongoose
Next, I will use Mongoose.js to connect to a database in my application. Mongoose is a package which makes working with MongoDB very simple. It allows us to define schemas.
To install mongoose I run the following command:
npm install --save mongoose
Then I import mongoose as follows in my app.js file:
var mongoose = require('mongoose');
I will also need to connect my app to the mongoose server. I do this by using the connect() method. This method expects an input which is the path to the server along with the name of the database. The connect method looks as follows:
mongoose.connect('mongodb://localhost:27107/nodeapp');
I don’t have to create the database in advance, it automatically creates if the database does not exist. Mongoose is now setup in app.js.
Snippet of app.js:
...
...
var app = express();

mongoose.connect('localhost:27017/nodeapp');

...
...
Creating Mongoose Models
I will first create the model of the data, for that, I create a new directory called models in the root folder. In this folder, I will store all my mongoose models as mongoose uses schema to define the data with which we work and later use the models defined here to interact with the data.
I will create a new file content.js, this file will hold the model of the posts.
The following is the model created by the code below.
content.js
var mongoose = require('mongoose');
var Schema = mongoose.Schema;
var schema = new Schema({
 title: {type: String, required: true},
 description: {type: String, required: true},
 author: {type: String, required: true}
});

module.exports = mongoose.model('Content', schema);
Here, I create a new schema and then pass a javascript object as an argument defining that schema. I begin by importing mongoose and using the mongoose schema object.
The argument for schema is a javascript object defining that schema. This defines how the data will look like. In this example title, description is of type string.
I will export this module so that I can import the functionality of this file in other files. I will export mongoose and model method. This model method allows me to specify the name of the model, Content in this example, and then the Schema on which this model is based
Note that mongoose will create the pluralized name of the model.
I have added some sample data to the database using the MongoDB command db.contents.insert(). I can also use db.contents.find() to see all the documents inserted in the collection.
This is the sample data in the database:

I have now entered the data in the database and next, I want to output this data on a web page.
To do some I will make some changes in the index.js file. I will first import my mongoose model. And the content from the database can be fetched using .find(). But this is asynchronous, so I create a new callback function and inside of this callback function, I pass the render method. I also pass the data to the view with new contents variable.
var Content = require('../models/content');


/* GET home page. */
router.get('/', function(req, res, next) {
    Content.find(function(err, content) {
      res.render('index', { title: 'Node Project', contents: content });
  });
});

module.exports = router;
Displaying the data
I will display the data through index.hbs file.
# in the handlebars indicates a block expression.
Block expressions allow you to define helpers that will invoke a section of your template with a different context than the current. These block helpers are identified by a # preceeding the helper name and require a matching closing mustache, /, of the same name.
I can iterate over a list using each helper. Here I iterate over the contents. Inside this block, I use this to reference the elements being iterated.
The index.hbs file looks as follows.
{{# each contents }}
        <div class="thumbnail">
            <div class="caption">
                <h3>{{ this.title }}</h3>
                <br>
                <small> {{ this.author}} </small>
                <br>
                <p class="description">{{ this.description }}</p>
            </div>
        </div>
{{/each}}
This is it! I am ready with my application now. If I run npm start and navigate to localhost:3000, I can see my blog with the data.
In this post, I accomplished my goal of building a basic application using NodeJS, Express, Handlebars, and MongooseJS. My journey to become a Full Stack Developer continues.
Link to GitHub repo: https://github.com/adityaekawade/node-express-mongo-mongoose
References:
NodeJS project: Shopping cart – This is a brilliant tutorial series by Academind on Youtube. I learnt a lot through this channel.
http://handlebarsjs.com/builtin_helpers.html
https://expressjs.com/en/starter/generator.html
Tags: express, handlebars, javascript, mongodb, mongoose, node, nodejs